Welcome to this post in which we will try to give the indications to follow in order to have a dripper for urban garden which provides us with healthy and fresh food throughout the year.
I. First phase: location and definition of our urban garden.
First we will look for the location of our garden. It can be on a terrace, patios or plots of topsoil.
It is convenient to look for a location where the sun shines for as many hours as possible since this will prevent the crops from allocating resources in search of light and will also prevent development from being slow due to lack of lighting or some vegetables from spiking or not being compact enough due to the lack of sunlight.
The location will define the type of garden that we will obtain, which can be a garden on natural soil or a garden on artificial soil.
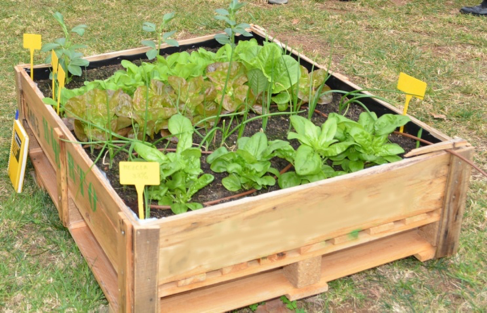
ARTIFICIAL SOIL GARDEN
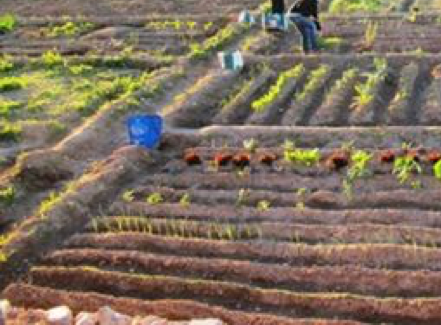
NATURAL SOIL GARDEN
II. Second phase: preparation of the garden.
Once we find the location of our garden, we go on to prepare the land, whether it is made up of topsoil or substrate for a pot, remember that this is very important since it is the basis of our products.
to. If the soil is topsoil, it must be loose, so we will have to fluff it up using mechanical work, farming implements, or manually with hoes or gardening tools, depending on the area we allocate to the garden.
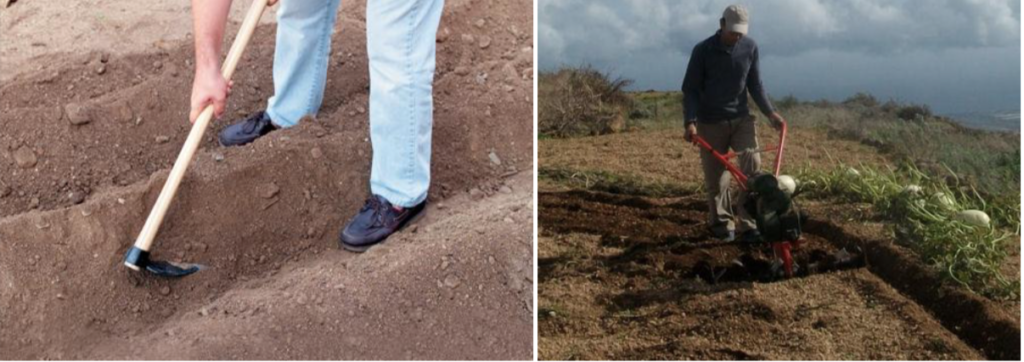
Manual or mechanical work on natural soil.
b. If the soil is artificial, "pot":
We must take into account.
At the base of the tray there must be an outlet for excess water and a first layer of pebbles to avoid excess moisture, the rest, we will fill it with substrate, taking into account that we will need a minimum height of at least 30cm. depth, so as not to create root competition and that the plants have enough depth for their development, always trying to have the maximum depth possible.
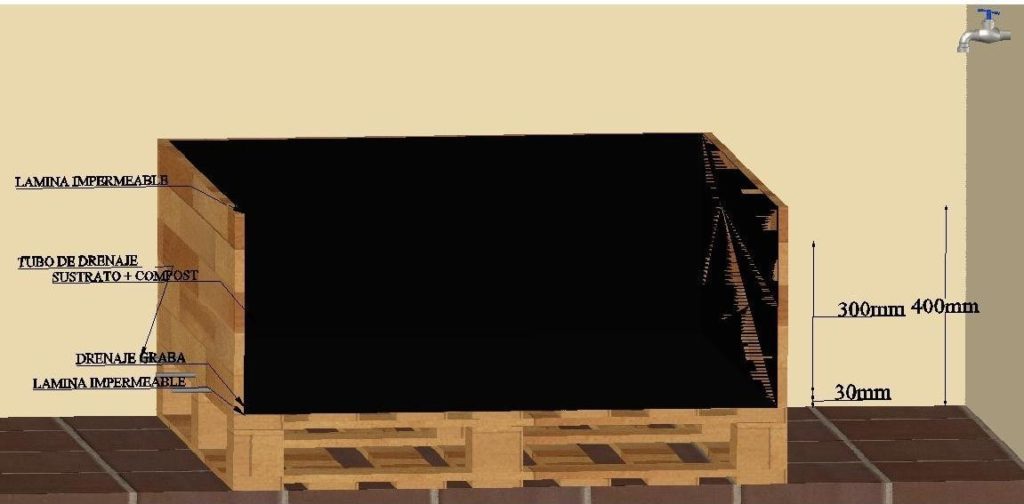
Planter dimensions for urban garden.
In the case of filling the pot with artificial substrate, we can select a suitable substrate for horticultural crops from among the many commercial houses. Some aspects that we must take into account when selecting the substrate are the water retention capacity and the origin of the fertilizer, which can be chemical, composed of macronutrients, such as N "nitrogen" P "phosphorus" and K "potassium". ”, micronutrients and other minerals, or natural, which is obtained from organic amendments such as manure, humus or other natural organic materials such as those from earthworms, which are highly recommended.
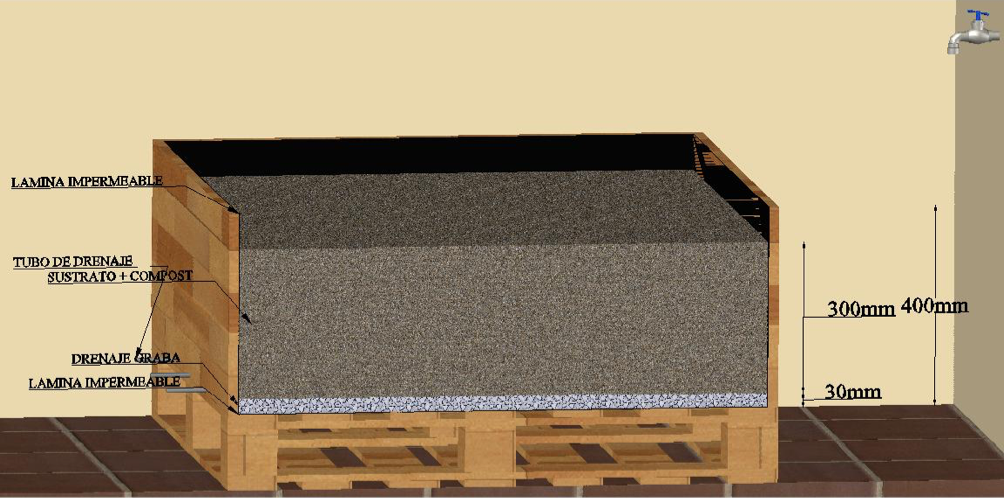
Planter Filler Layers
Whenever possible, it is advisable to fill the pot with natural soil enriched with animal manure (chicken manure, horse manure, rabbit manure, cow manure, etc.), although be careful with the quantities, an excess of manure is very harmful, an amount suitable is about 10Kg/m2, conditioning the manure on top of the substrate with a layer of half a centimeter and mixing it well with the ground, we will moisten the mixture and cover it with plastic, leaving about 4-5 days for the ground to warm up on sunny days. This will help disinfect the soil and the manure, repeating this whenever the crop cycles allow it at least once every two years.
III. Third phase: irrigation.
This phase is important because without water our vegetables will not be able to maintain, produce or look healthy.
It is not advisable to water the vegetables with watering cans, pouring the water through the leaves, except in case of need to clean them of excess dust, soil or pollution, since by moistening the leaves of many vegetables they retain the water creating an ideal environment for the proliferation rot diseases such as "Botritis".
The best way to keep the orchard in perfect humidity conditions is to install a drip irrigation adequate, for which we will start studying:
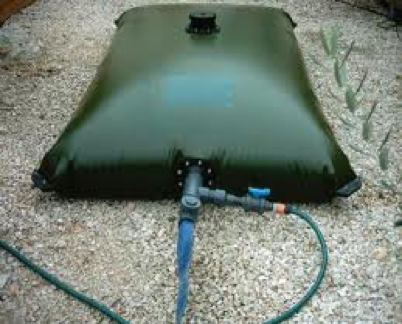
- Supply and origin of the water.
Depending on the size of our orchard, we will estimate the volume of water reserves, which can be reused or rainwater, with their convenient treatments for each one. In the following post we will talk about the recycling of water.
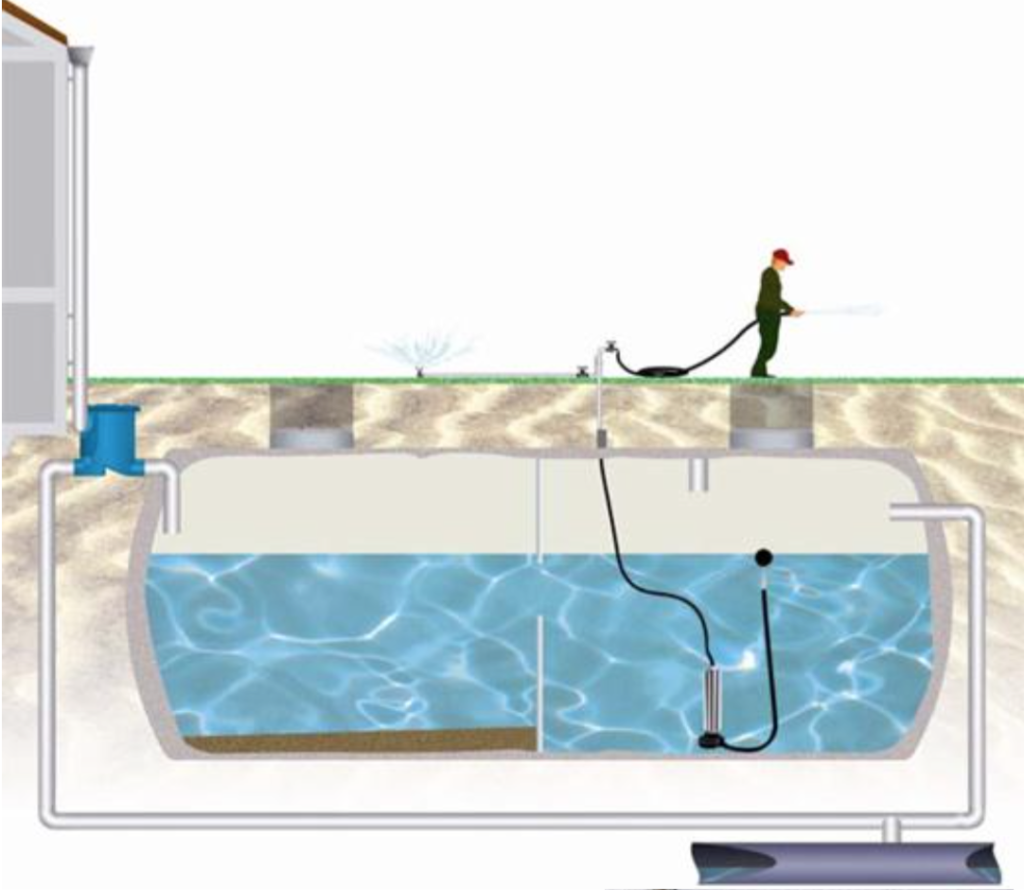
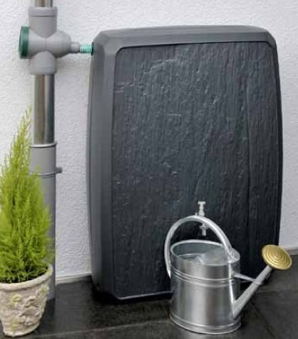
Reuse of rainwater and gray water from the house.
For small orchards we will need a water intake from the drinking water network.
Once we have defined the water supply, we will decide if we install an automatic or manual irrigation. We can also carry out the installation with anticipation of installing the programmer later.
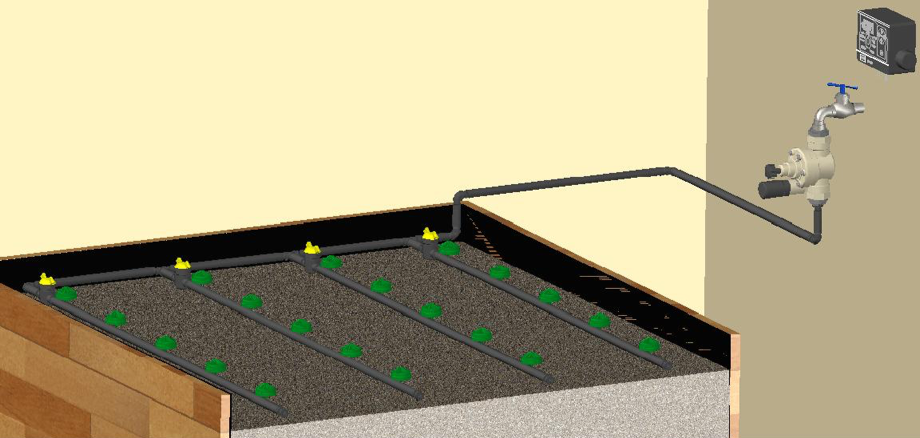
7 Practical example of an automatic irrigation installation for an urban garden in a pot.
Basic material for drip irrigation installation with programmer and solenoid valve connected to ø25 garden tap.
Tools and material for the irrigation installation.
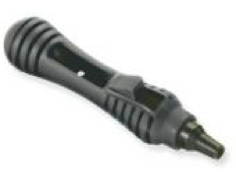
Punch
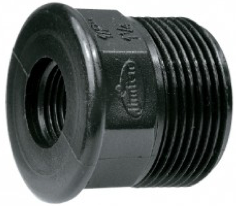
Reduction nut
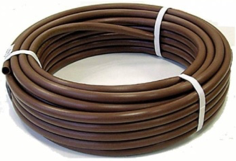
PE32 pipe ø16
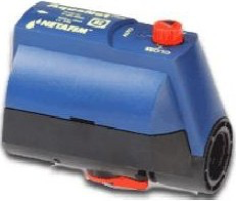
Solenoid valve
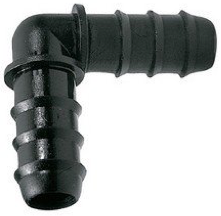
PP spigot elbow
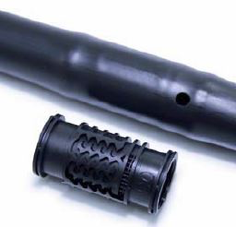
Cylindrical dripper tubing
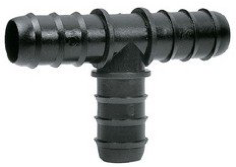
Spike PP tea
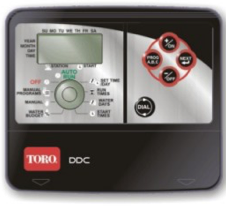
Programmers
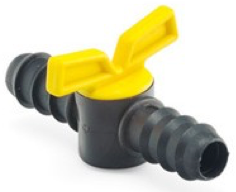
PP spigot valve
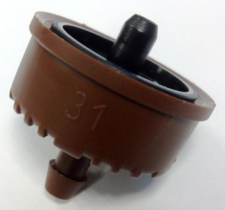
Self-compensating dripper

Tubing with integrated pill dropper
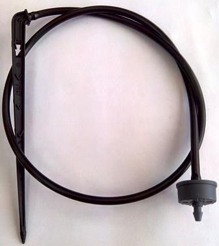
Dropper with pickaxe
TEFLON
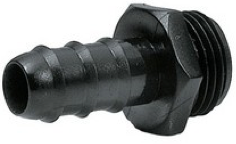
Mixed link RM-ø16
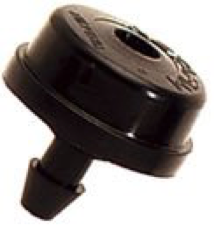
Dropper button
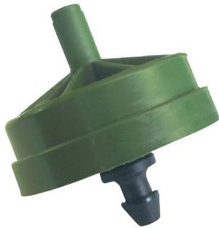
Self-compensating dripper
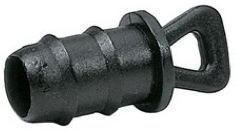
PP spigot plug
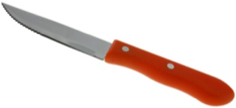
Knife and tightening tools such as: parrot wrenches, tap, English or universal pliers.
Once we have finished the irrigation installation of our garden we already have what we need to have a perfect urban garden, both in a plot of natural soil or in a pot.
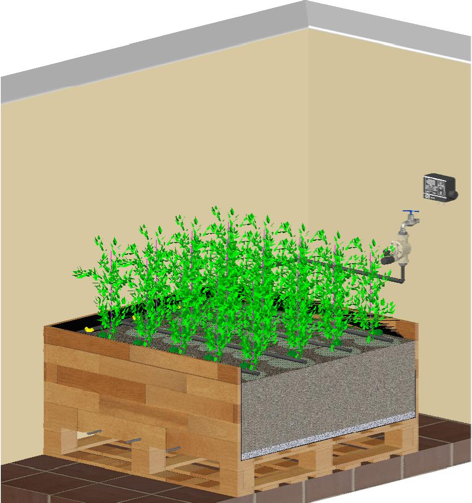
URBAN GARDEN IN MACETÓN
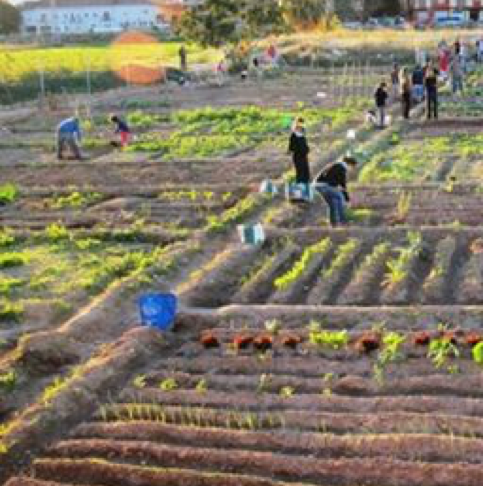
URBAN GARDEN ON VEGETABLE LAND
IV. Fourth phase: The plantation.
Once we have our garden we will go to the phase of; what to plant, when to plant and how to plant.
- What to plant.
- Aromatic. Plants used as spices or seasoning in dishes.
- horticultural Those known as vegetables, in the case of choosing to plant vegetables, we must take into account the size that our plant can acquire and the surface that we have available.
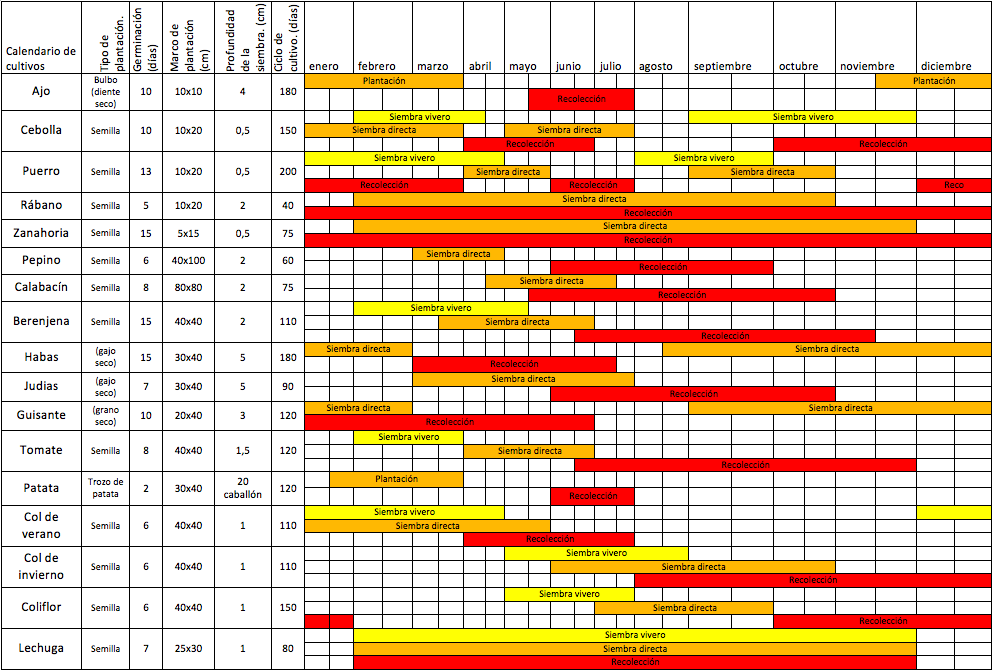
- When to plant.
In the cultivation calendar that you have below we can observe it.
- How to plant.
You have to take into account if the plant needs ridge to grow like tubers or if the plant can be kept on flat ground.
The planting frame is very important so that there is no root competition, the plants do not spike or, in cases such as lettuce, develop compactly. In the calendar you can see the appropriate framework for each crop.
At Mundoriego we have a wide variety of products, such as: retention valve, reducing and regulating valves y gate valves.